Claude Design — what does it actually mean for designers?
Plus, what may be the future direction for design tools

If you’ve been in the industry for more than 10 years, you know one thing for sure: your go-to tool will most likely be replaced by another, or it will change itself drastically.
Now the question is: is Anthropic going to shake the design industry with its new solution?
In this note, I’d like to share the following thoughts:
What are the key things that make Claude Design special.
My observations & tips when learning to use the tool smarter way.
What this tool actually means for us designers.
What is Claude Design
When Anthropic announced the release of their new tool for creatives, I was excited. I always say that competition is good. First, it sparks innovation and boosts the release of improvements. Second, it prevents the establishment of a monopoly that hurts end users with increased costs.
Claude Design promises to help you build prototypes, slides, and all visual and interactive things that can be done technically with HTML, CSS, and JavaScript.
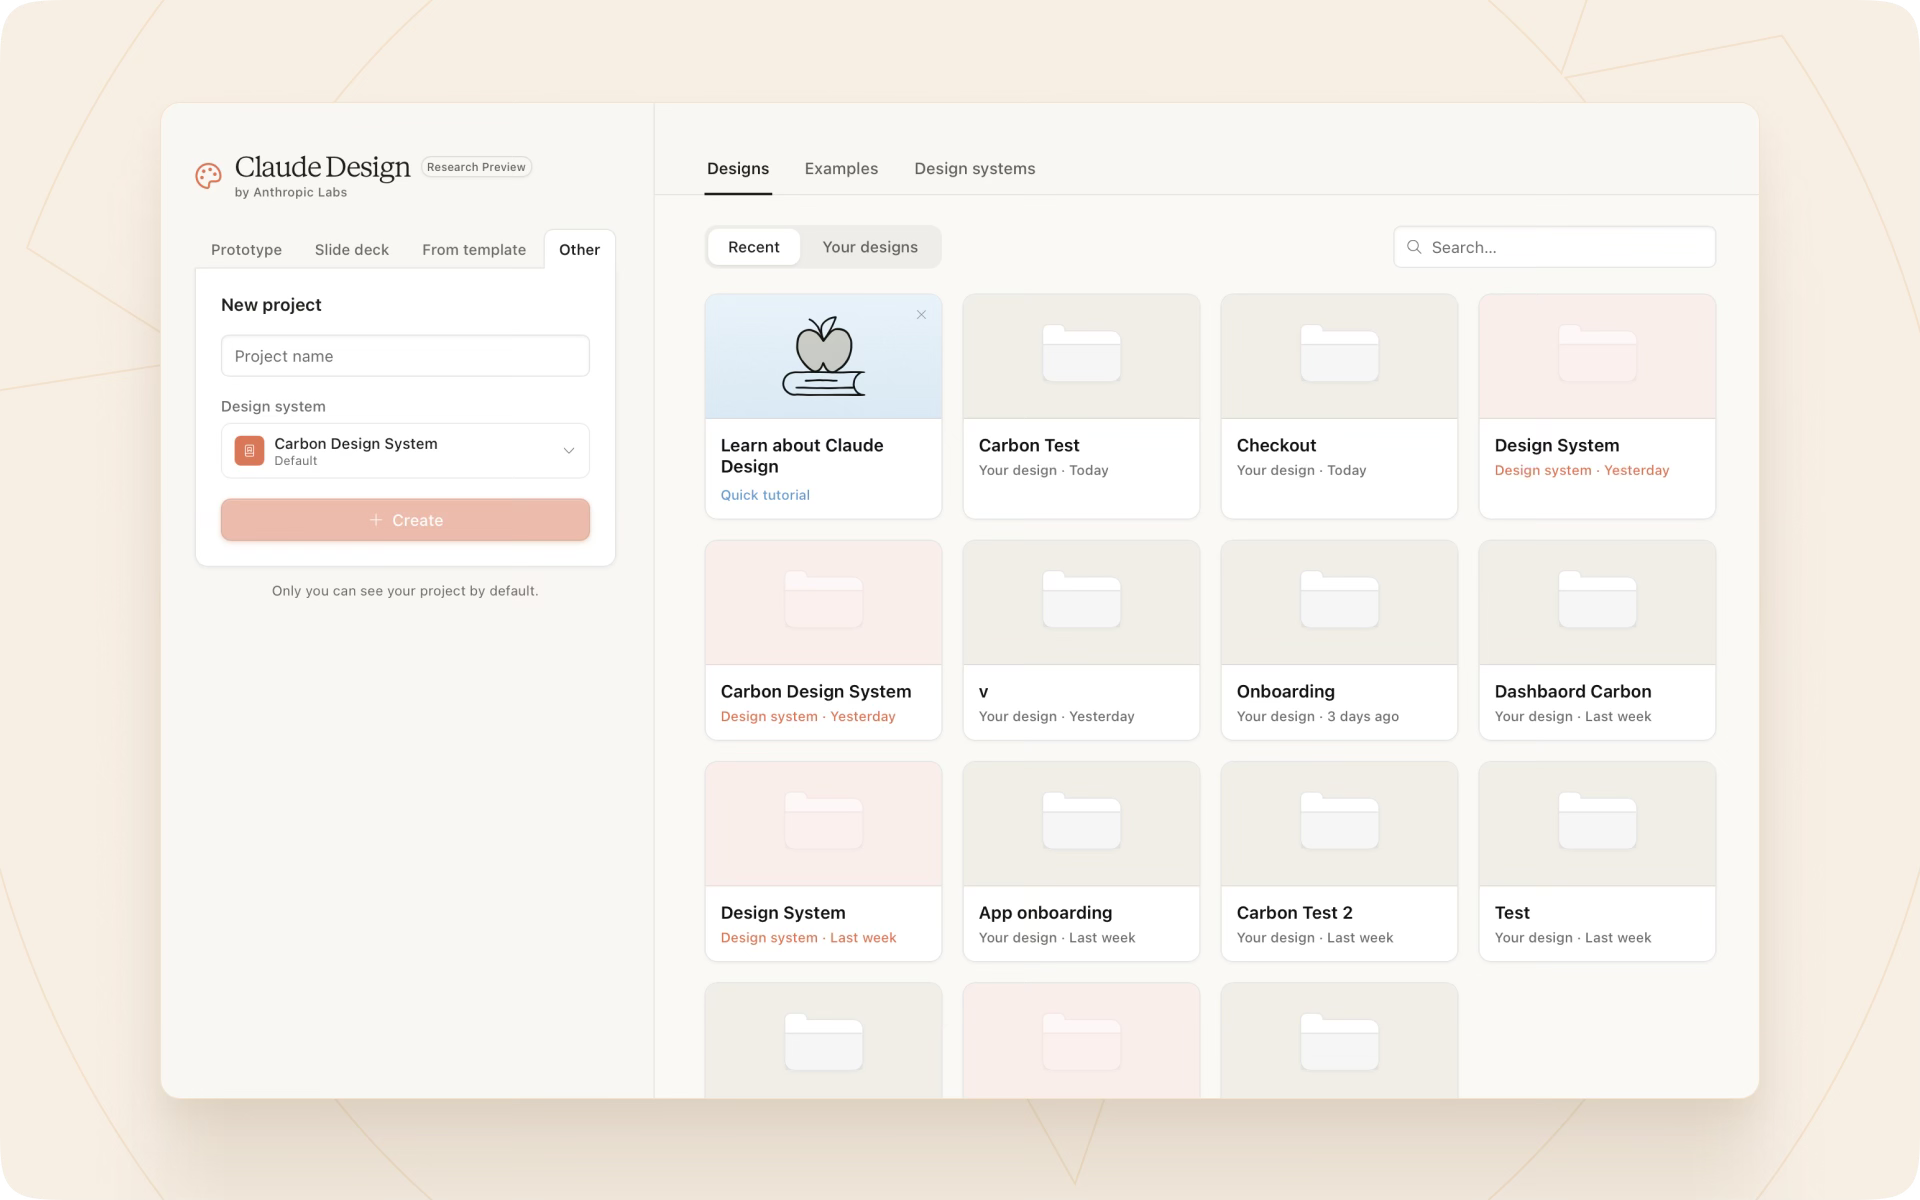
If you’re familiar with Claude Code, the new tool looks like an overlay or a variation for less technical people that, thanks to its interface, lets you interact with AI faster and more precisely.
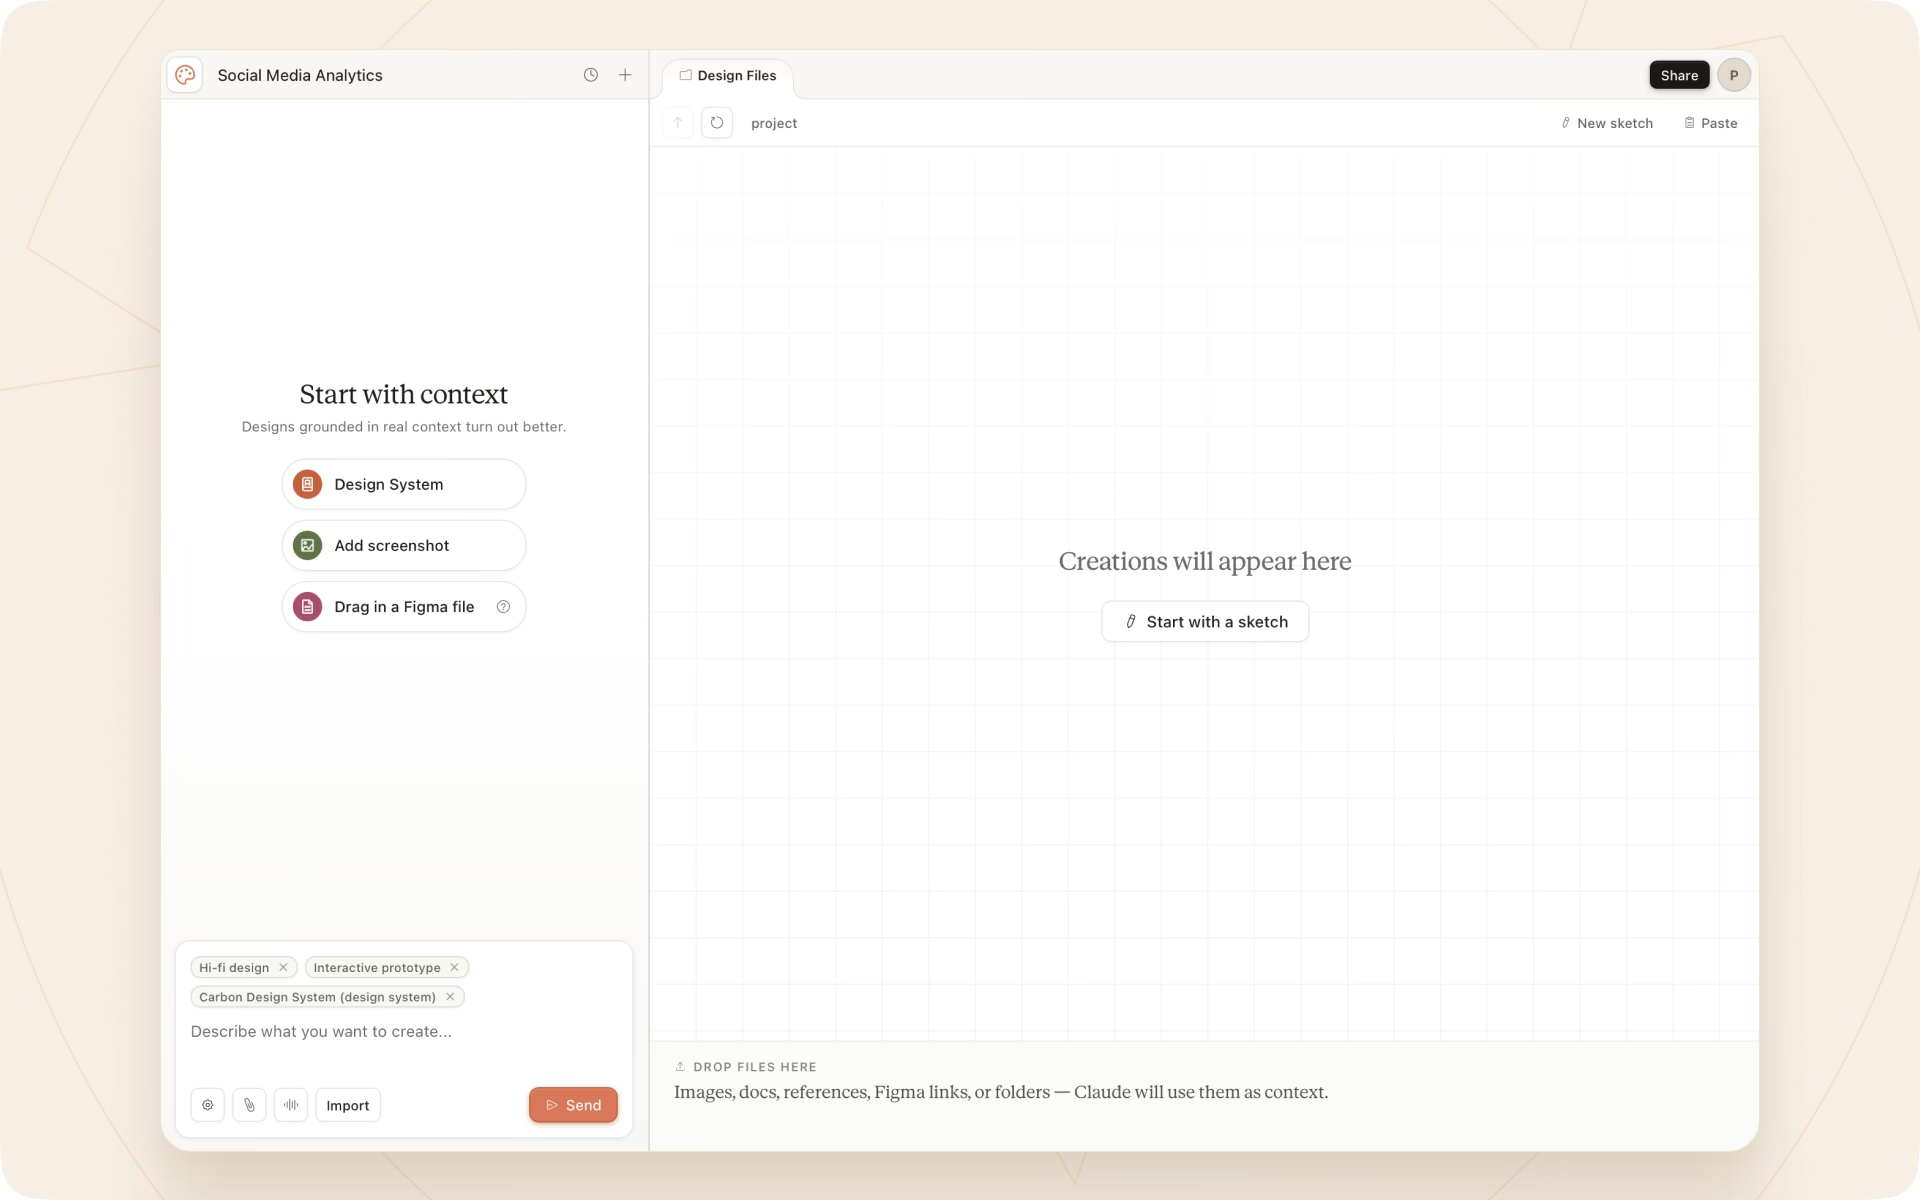
When you open the first project, you’ll see the attempt to combine two worlds: a conversation UI plus the canvas. In the next paragraph, I’ll show why the second part is only an illusion.
Working with Claude Design
The Claude Design interface lowers the entry bar for creatives who would like to start their journey with agentic design.
Canvas
The biggest area of an opened project includes a hint, “start with a sketch.” That could be a great idea, but the toolset is very limited in the current version (pen tool, text, and a few basic shapes), and drawing on a computer without a dedicated tablet is painful.
While I love to start my UI explorations by sketching on paper, I imagine this could be a real booster (translating a sketch into a working prototype). For now, it’s more convenient to scan your sketch and upload it into the Claude Design chat as an attachment.
Chat
Speaking of conversational workflow, which sits on the left side of Claude Design - it’s the true power of the tool. You can interact with it just like with other Anthropic tools (Cowork or Code).
For beginners, it also quickly grabs attention by suggesting the first actions, like attaching a screenshot or uploading a Figma file.
💡My recommendation: if you already work in a project that has its own design system, or at least a style guide, start with that option.
Creating a design system
A design system is more than just a Figma kit, and Claude Design’s creators know that. They let you attach not only a .fig file, but also GitHub or a codebase with components. You can upload assets like photos, vectors, or fonts as well. Finally, you can describe extra notes about the library specifics (a great place to put your DESIGN.md file contents).
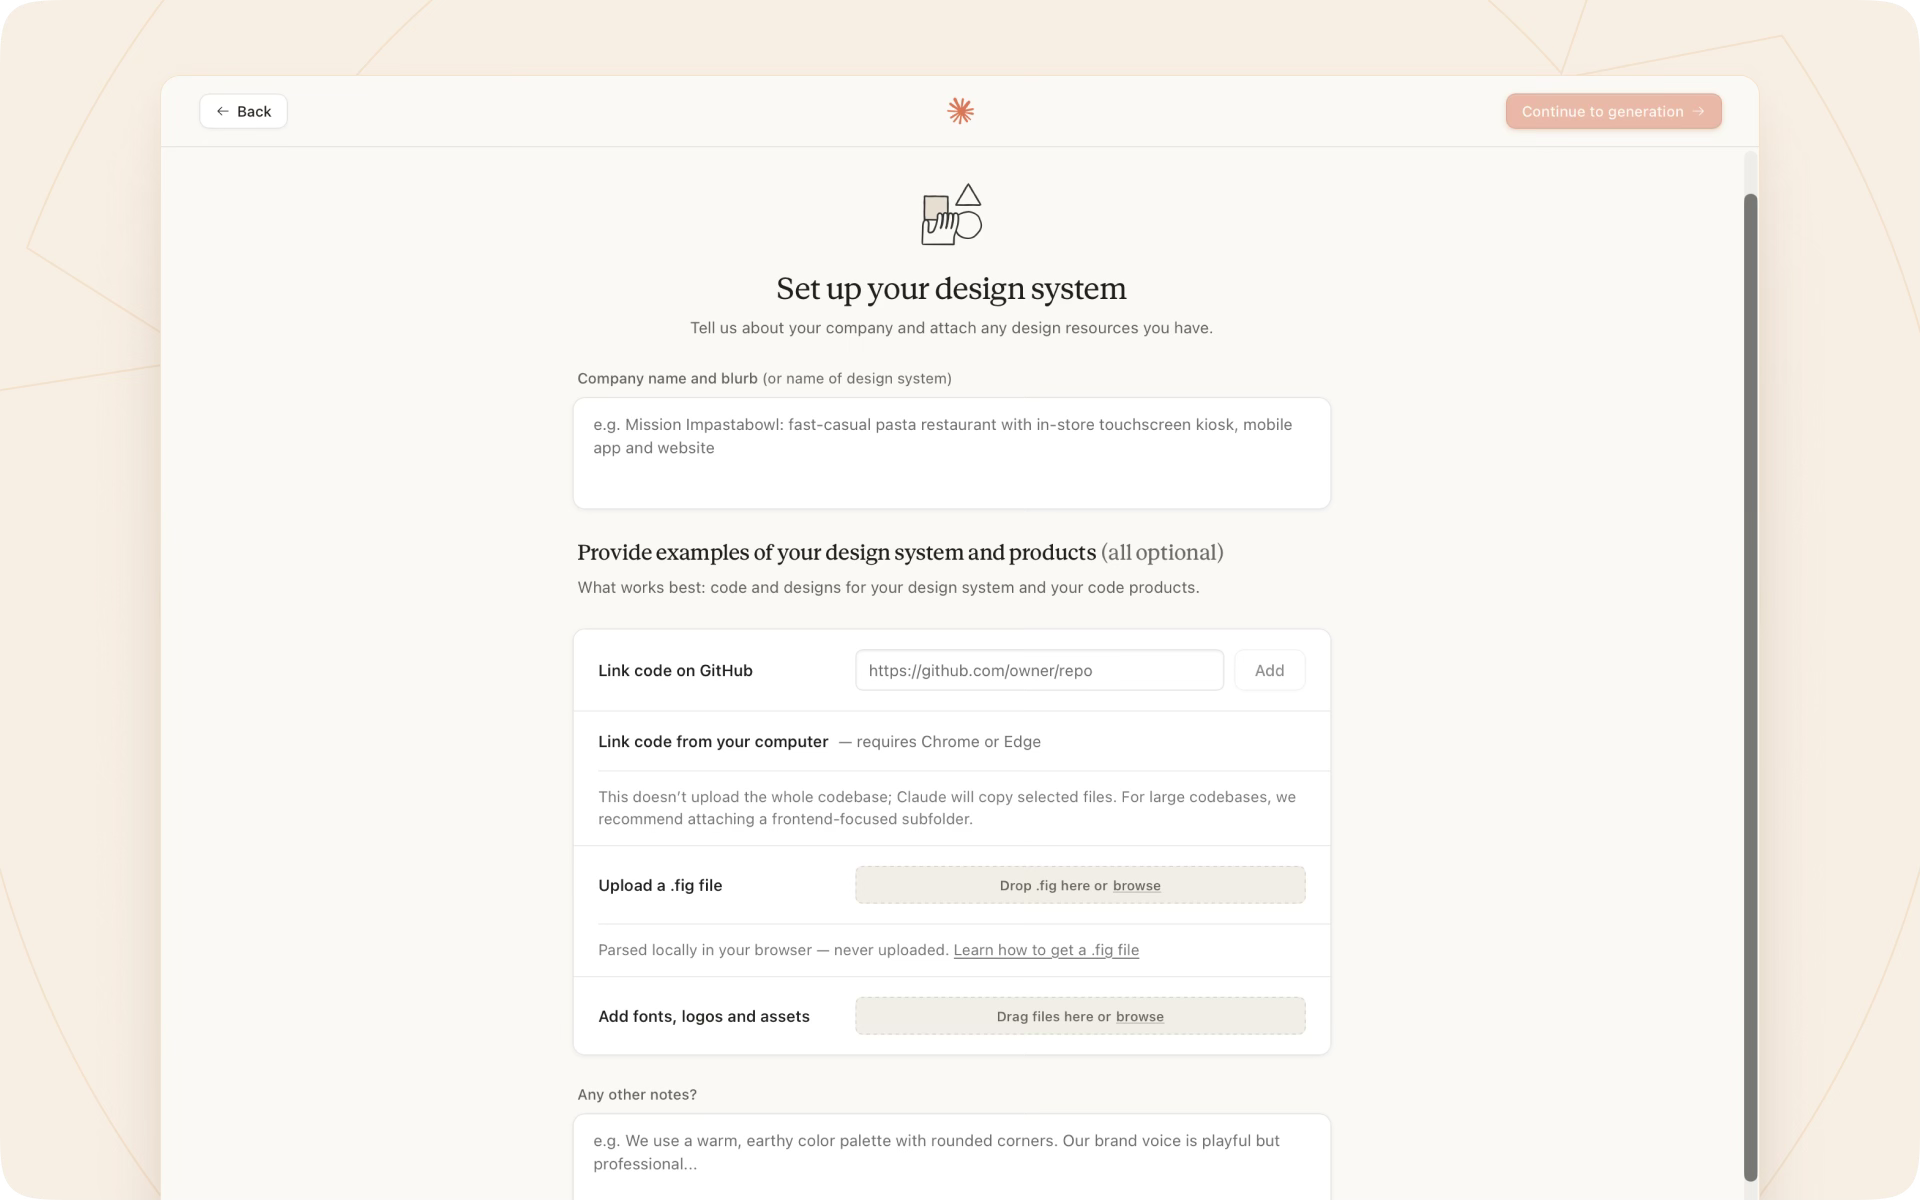
Once you press create, go for a coffee break — it will take time to process. Notably, Claude promises that the design system codebase is processed locally and not uploaded to their servers.
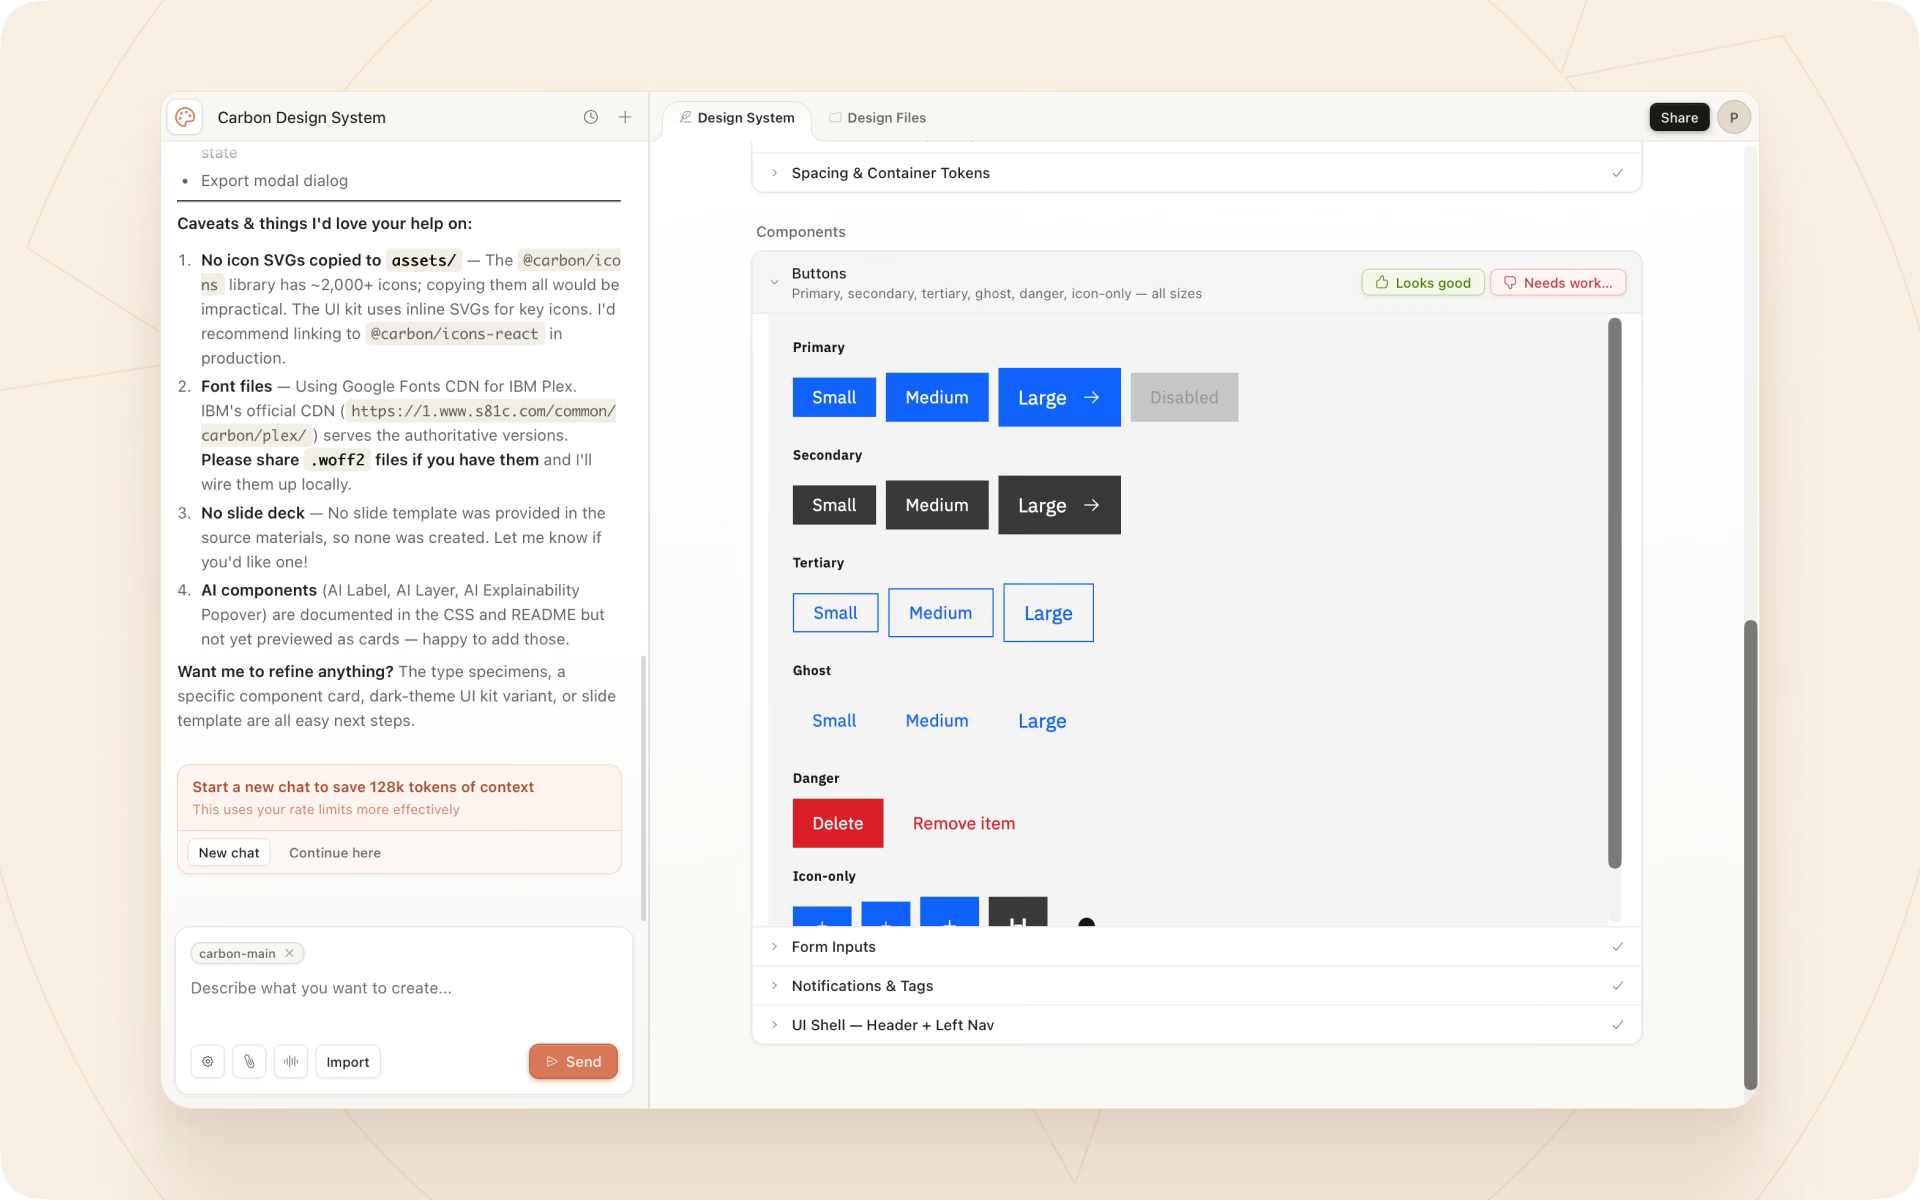
From my experience, “good-enough” results can be achieved by uploading just a Figma library. However, if you’d like to increase quality and precision, coded components make the difference.
💡Pro tip: After uploading all assets and libraries, don’t forget to approve design system sections before you use them to generate UI. Otherwise, AI won’t know whether this part is worth applying or not.
Generating UI
Once you have the design system base published in Claude Design, you can start generating UI for the feature you’re working on.
I strongly recommend spending a bit of time shaping the precise prompt you’ll send to AI. Ensure a proper level of context and be specific about the task or result you want to get. Finally, remember to describe the constraints you want it to follow.
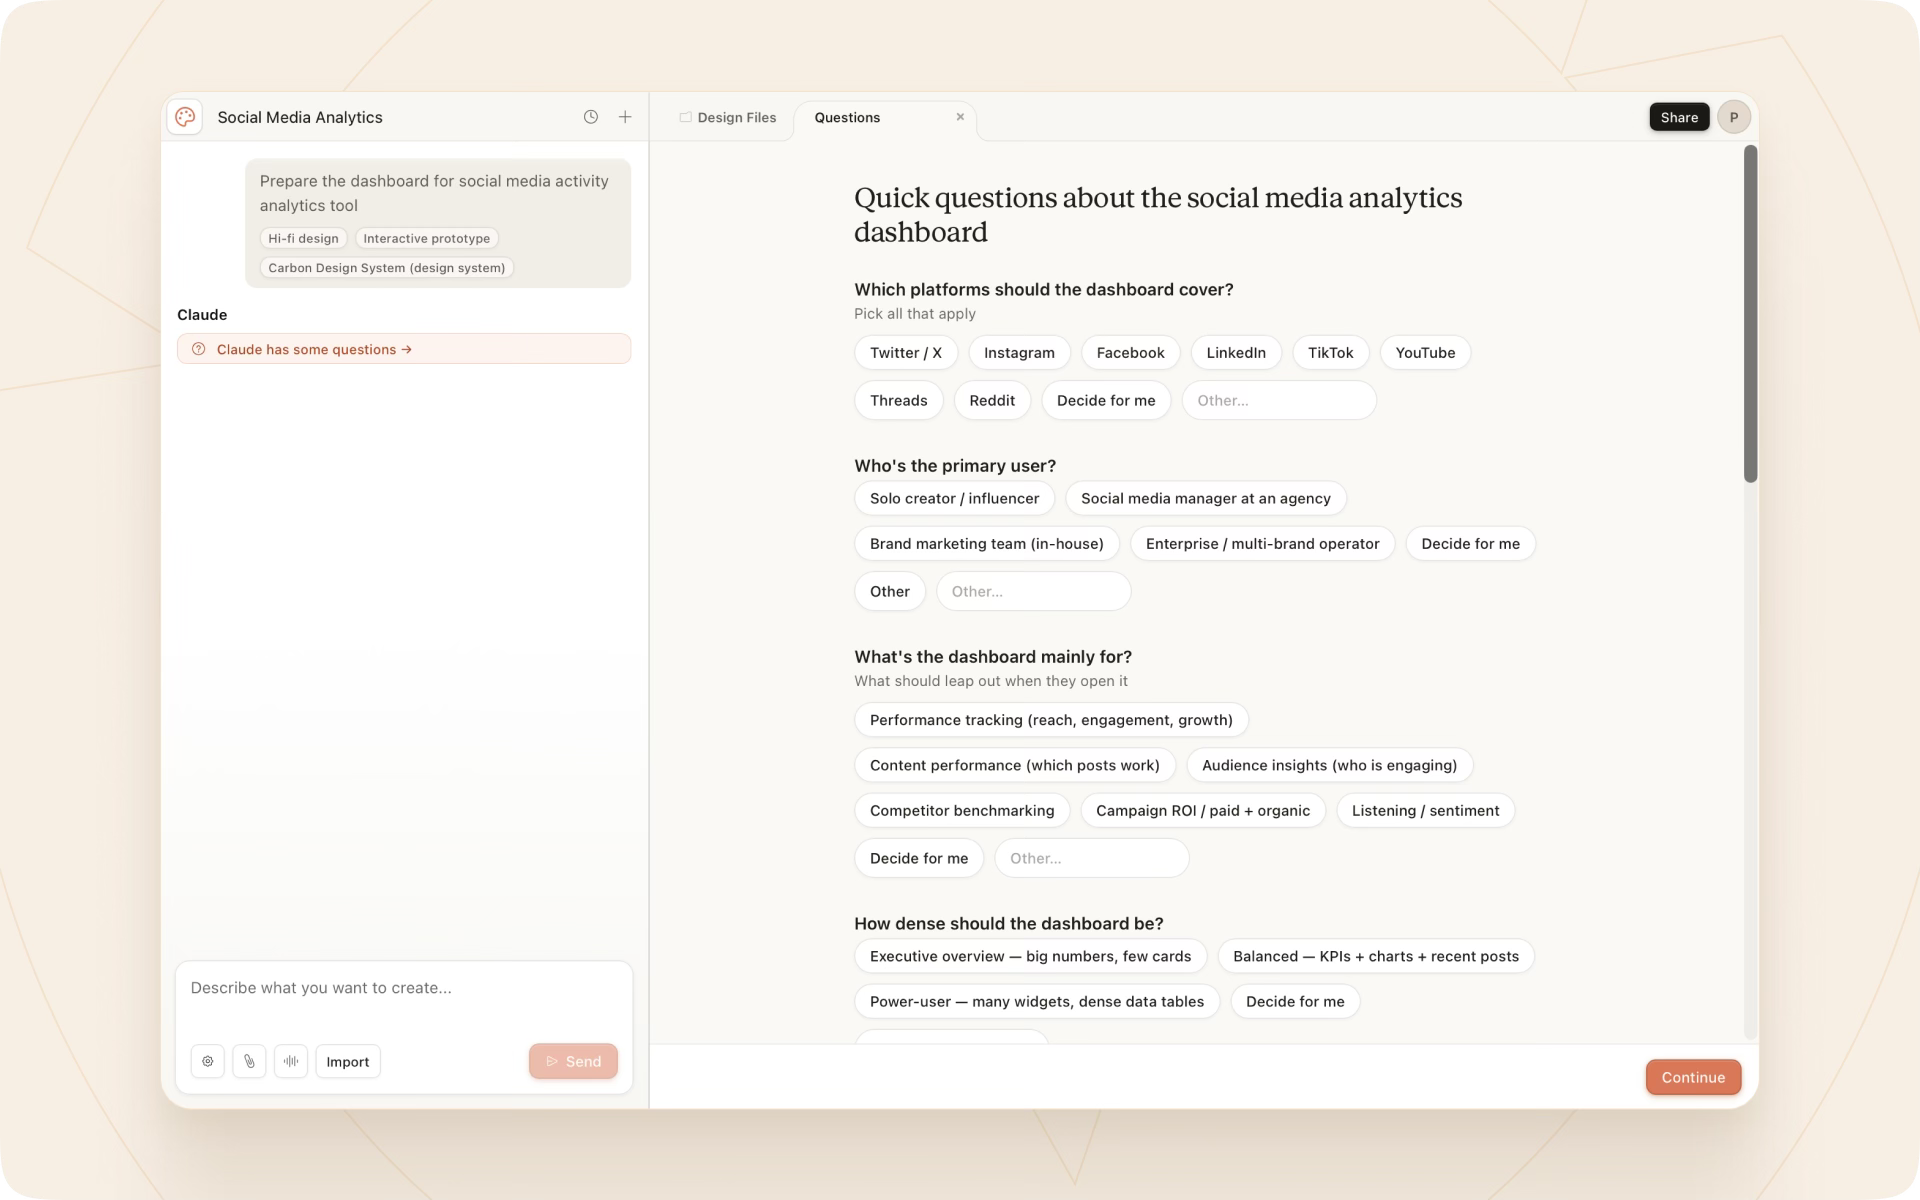
However, if you’re a slightly lazy creative pro, or you’re stuck and simply seek inspiration, type a super simple prompt like “Social media analytics setup flow,” and a kind of nice magic will happen.
You’ll notice that Claude Design asks you for more granular elements, from styling aspects to more domain-specific knowledge.
Working with generated UI
Even the best prompt won’t give you the perfect result. Now the fun and mindful part begins. You can start iterating on the generated output. I saw memes on the internet saying that being a “modern” designer means an endless chat of going back and forth, asking LLMs to generate the next improvement.
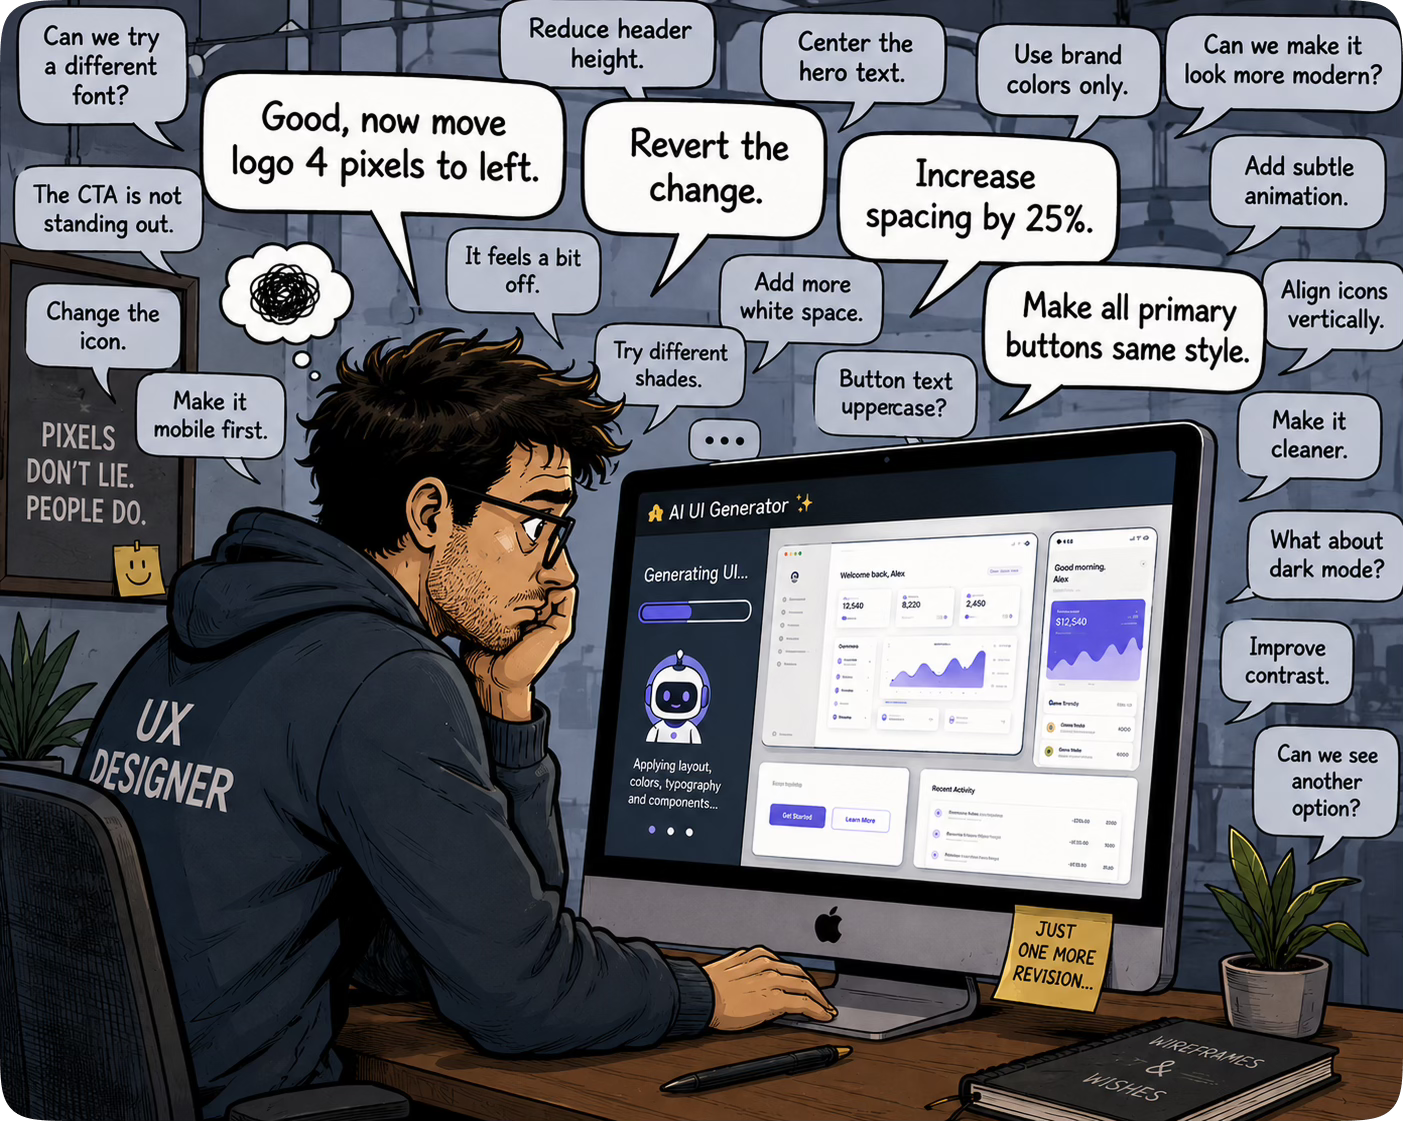
That was partially true. Originally, the “default” way to make changes was just to write the next prompt. However, smart people came up with wonderful ideas that then spread around the globe. At the beginning of 2026, I saw Josh Puckett (creator of the incredibly well-designed tool called DialKit) working with coded components and iterating on their appearance through a concept called “parametric design.”
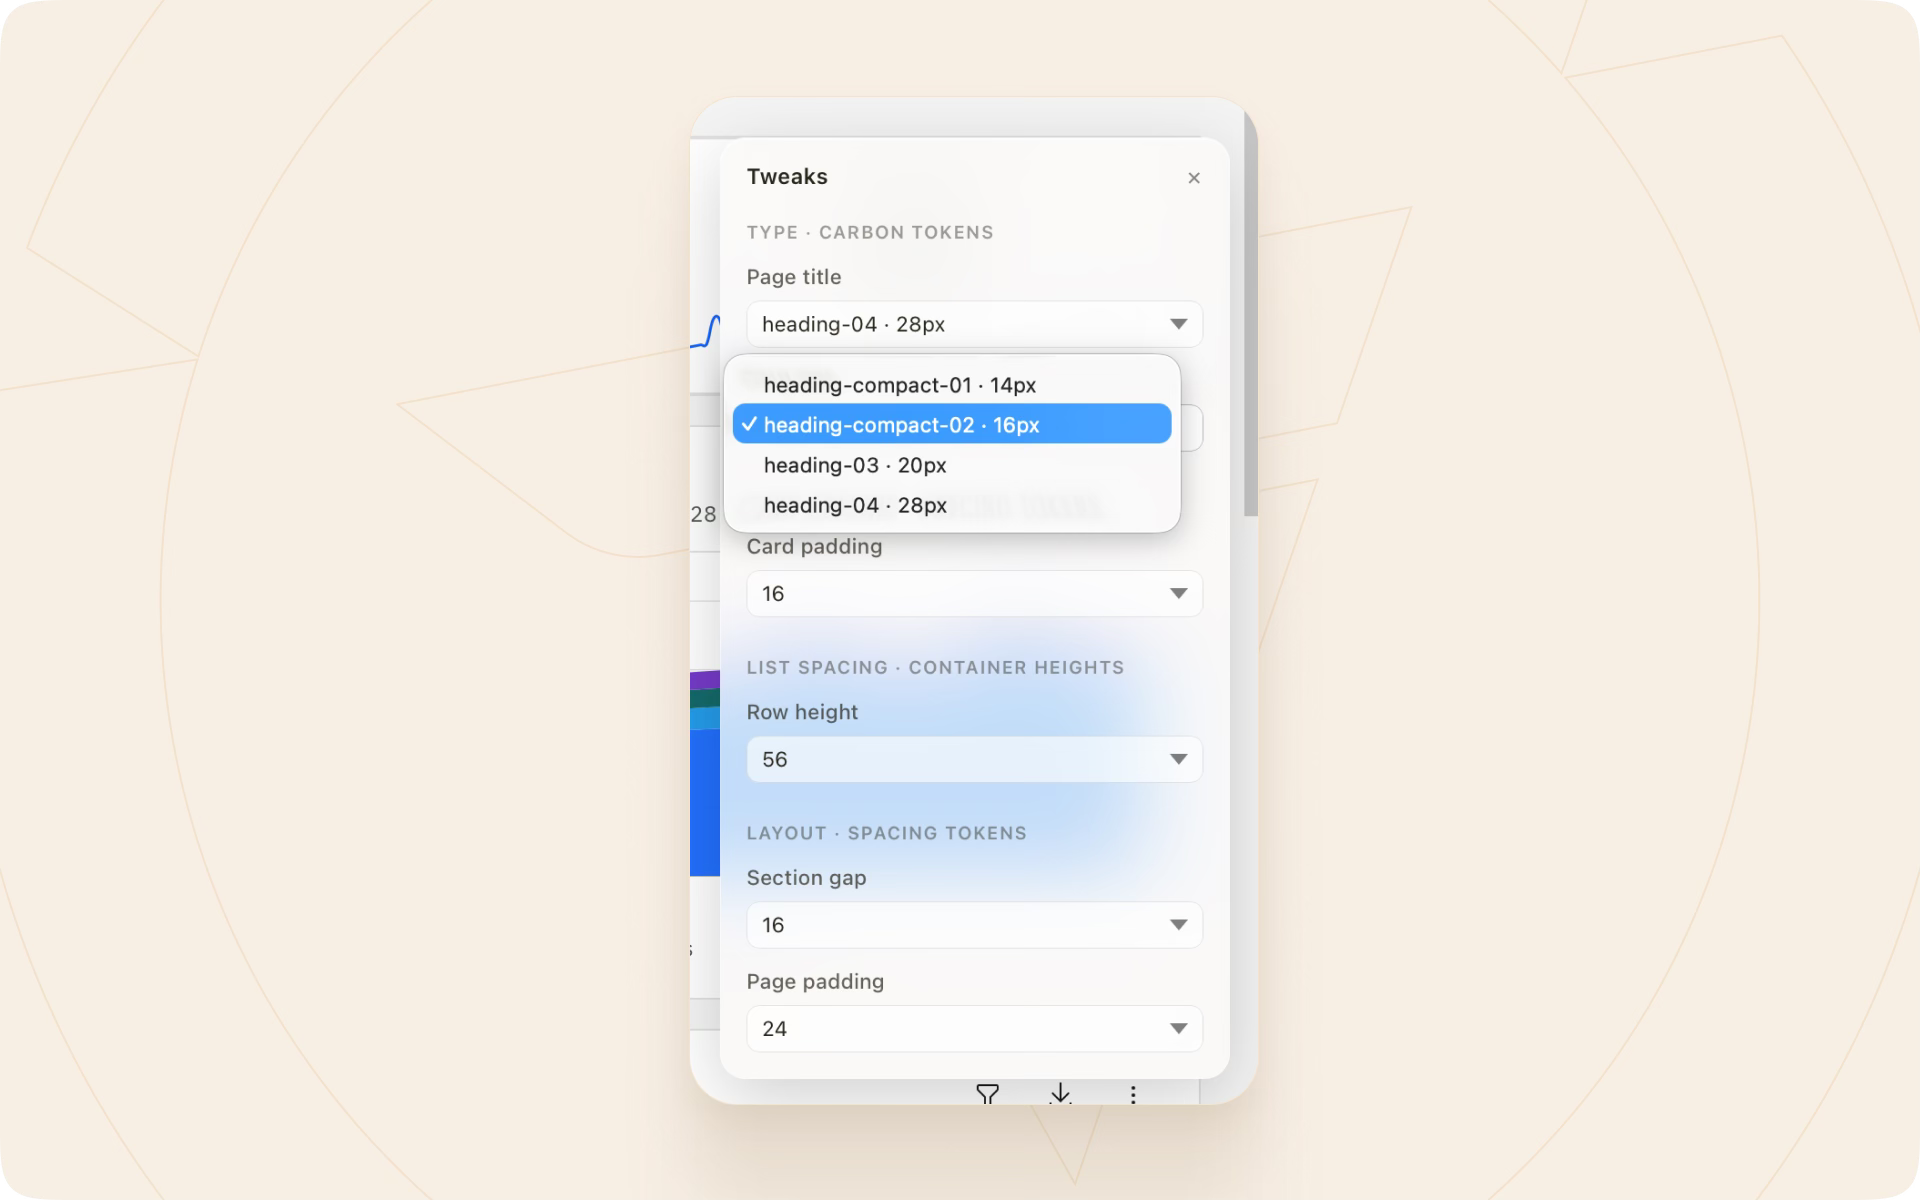
Parametric design is all about coding or generating UI and adding a temporary tool to it. The embedded tool lets you tweak it: change spacing, pick an alternative color, or adjust the font size. Everything happens here and now, without the need to prompt the LLM again and again every time.
Claude Design implemented the parametric design technique and called it “Tweaks.” Sometimes it generates them for you; other times, you simply ask it to display several sliders to iterate on the generated UI.
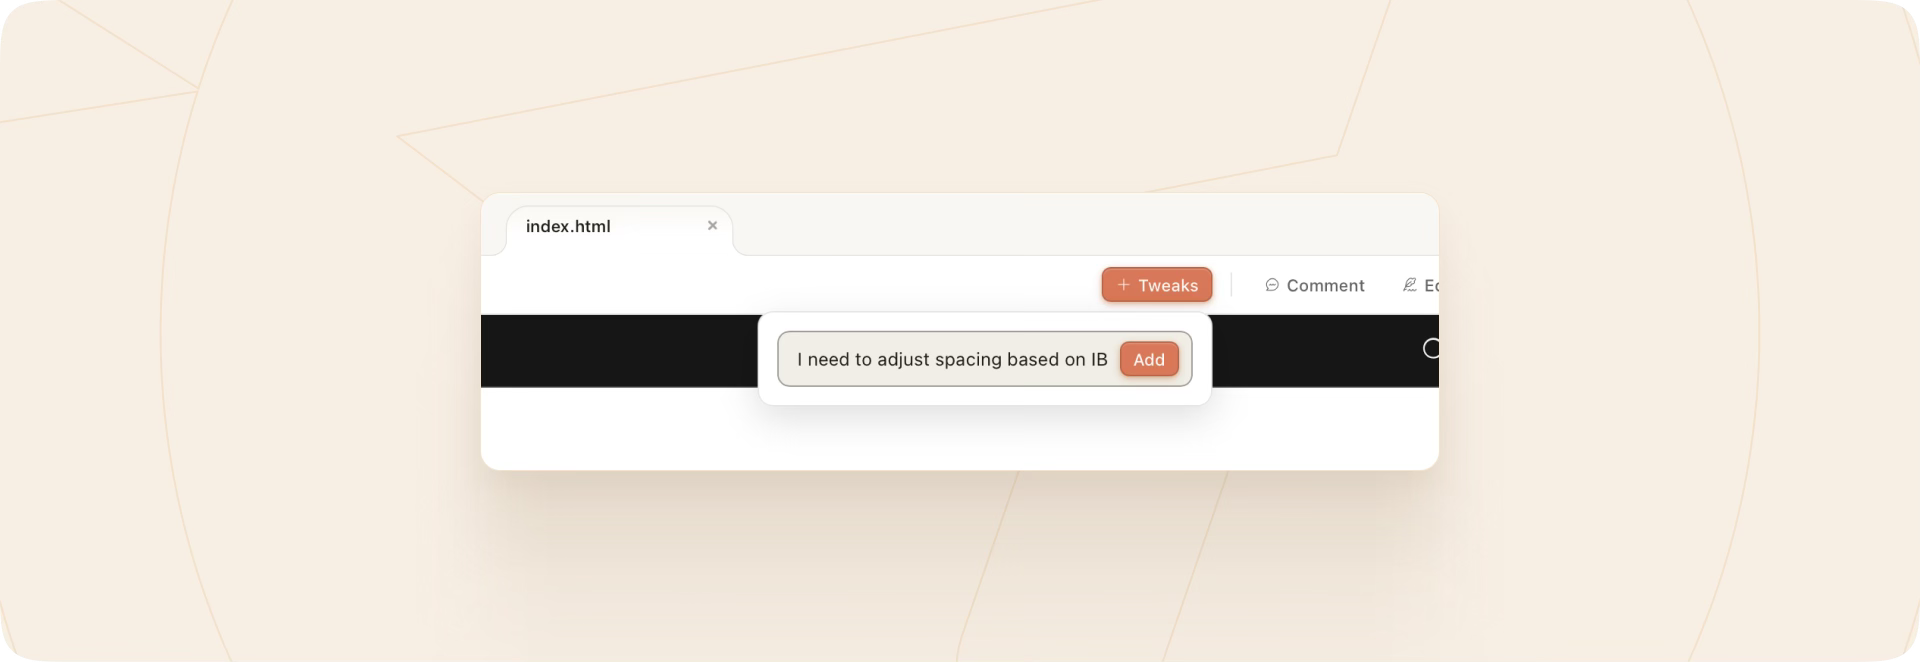
💡Pro tip: When working with Claude Design Tweaks, always ask it to keep in mind values from the design system. Thanks to that, you’ll be able to manipulate within the feasible scope. Without that definition, you’ll tweak random numbers.
The other way to iterate on the UI is to add comments. You simply activate the feature and point to the layer you’d like to modify. Precise and super simple. No more need to describe the element in chat or take a screenshot.
All you need is to write a few lines of prompt in a comment and wait for AI to apply the changes.
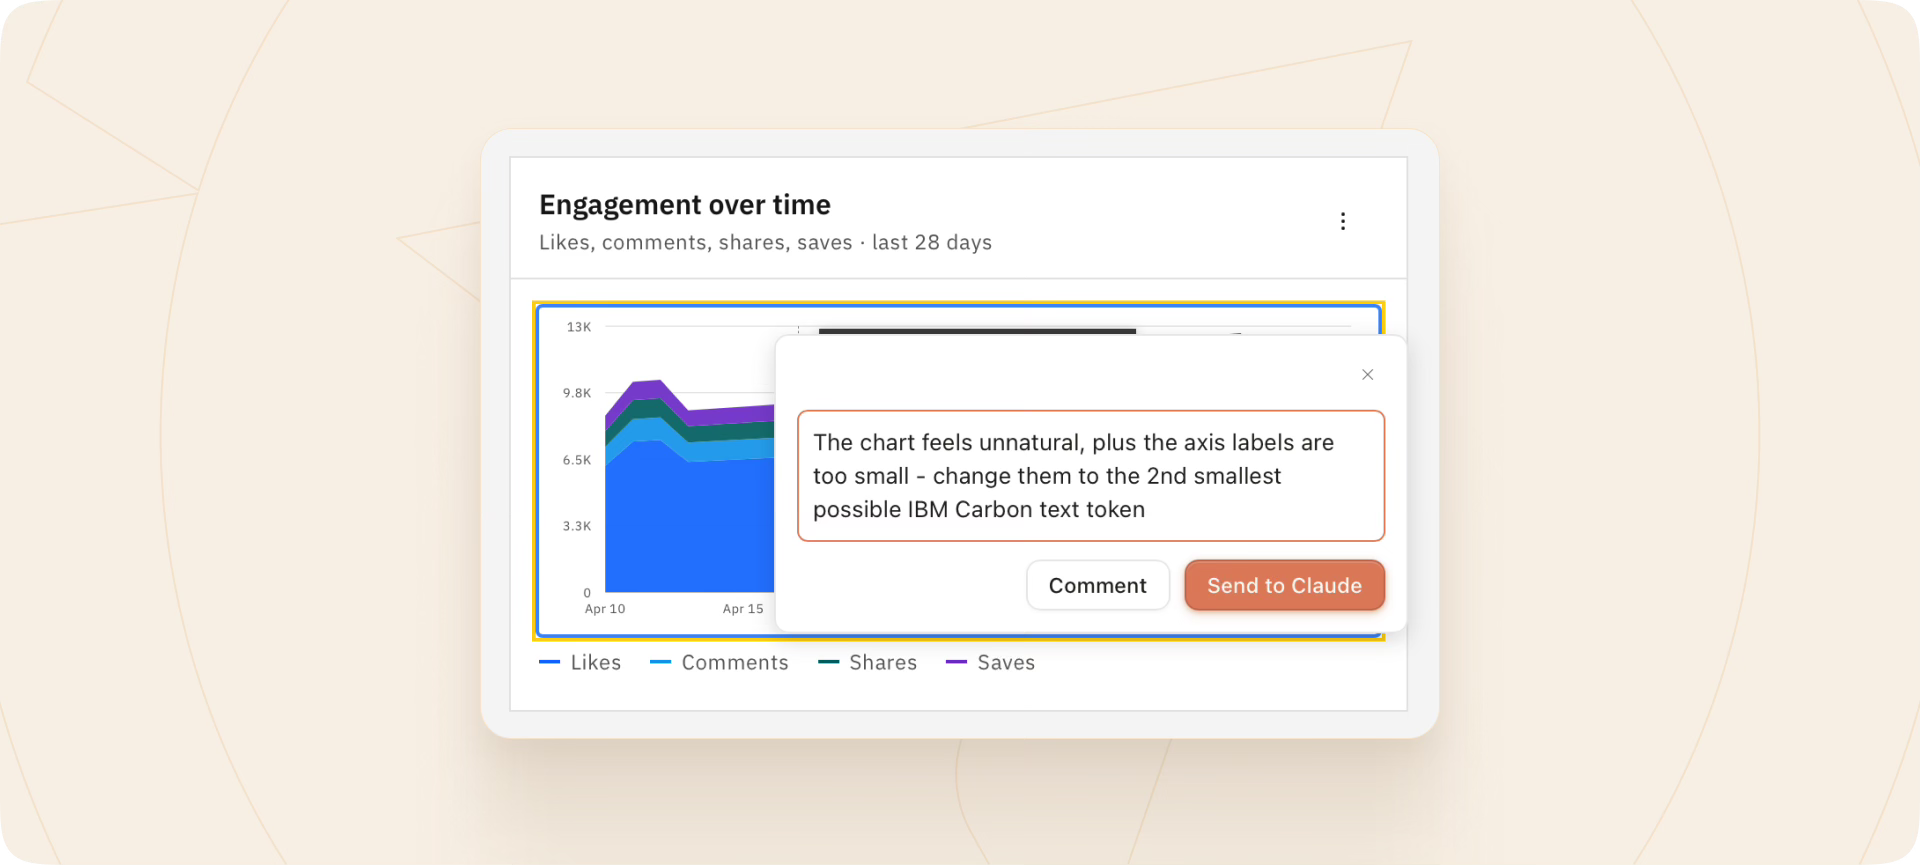
These two techniques, tweaks and comments, make the exploration and iteration on designs much more convenient. However, I still miss a real canvas where I could put various versions side by side (let me know if you feel the same).
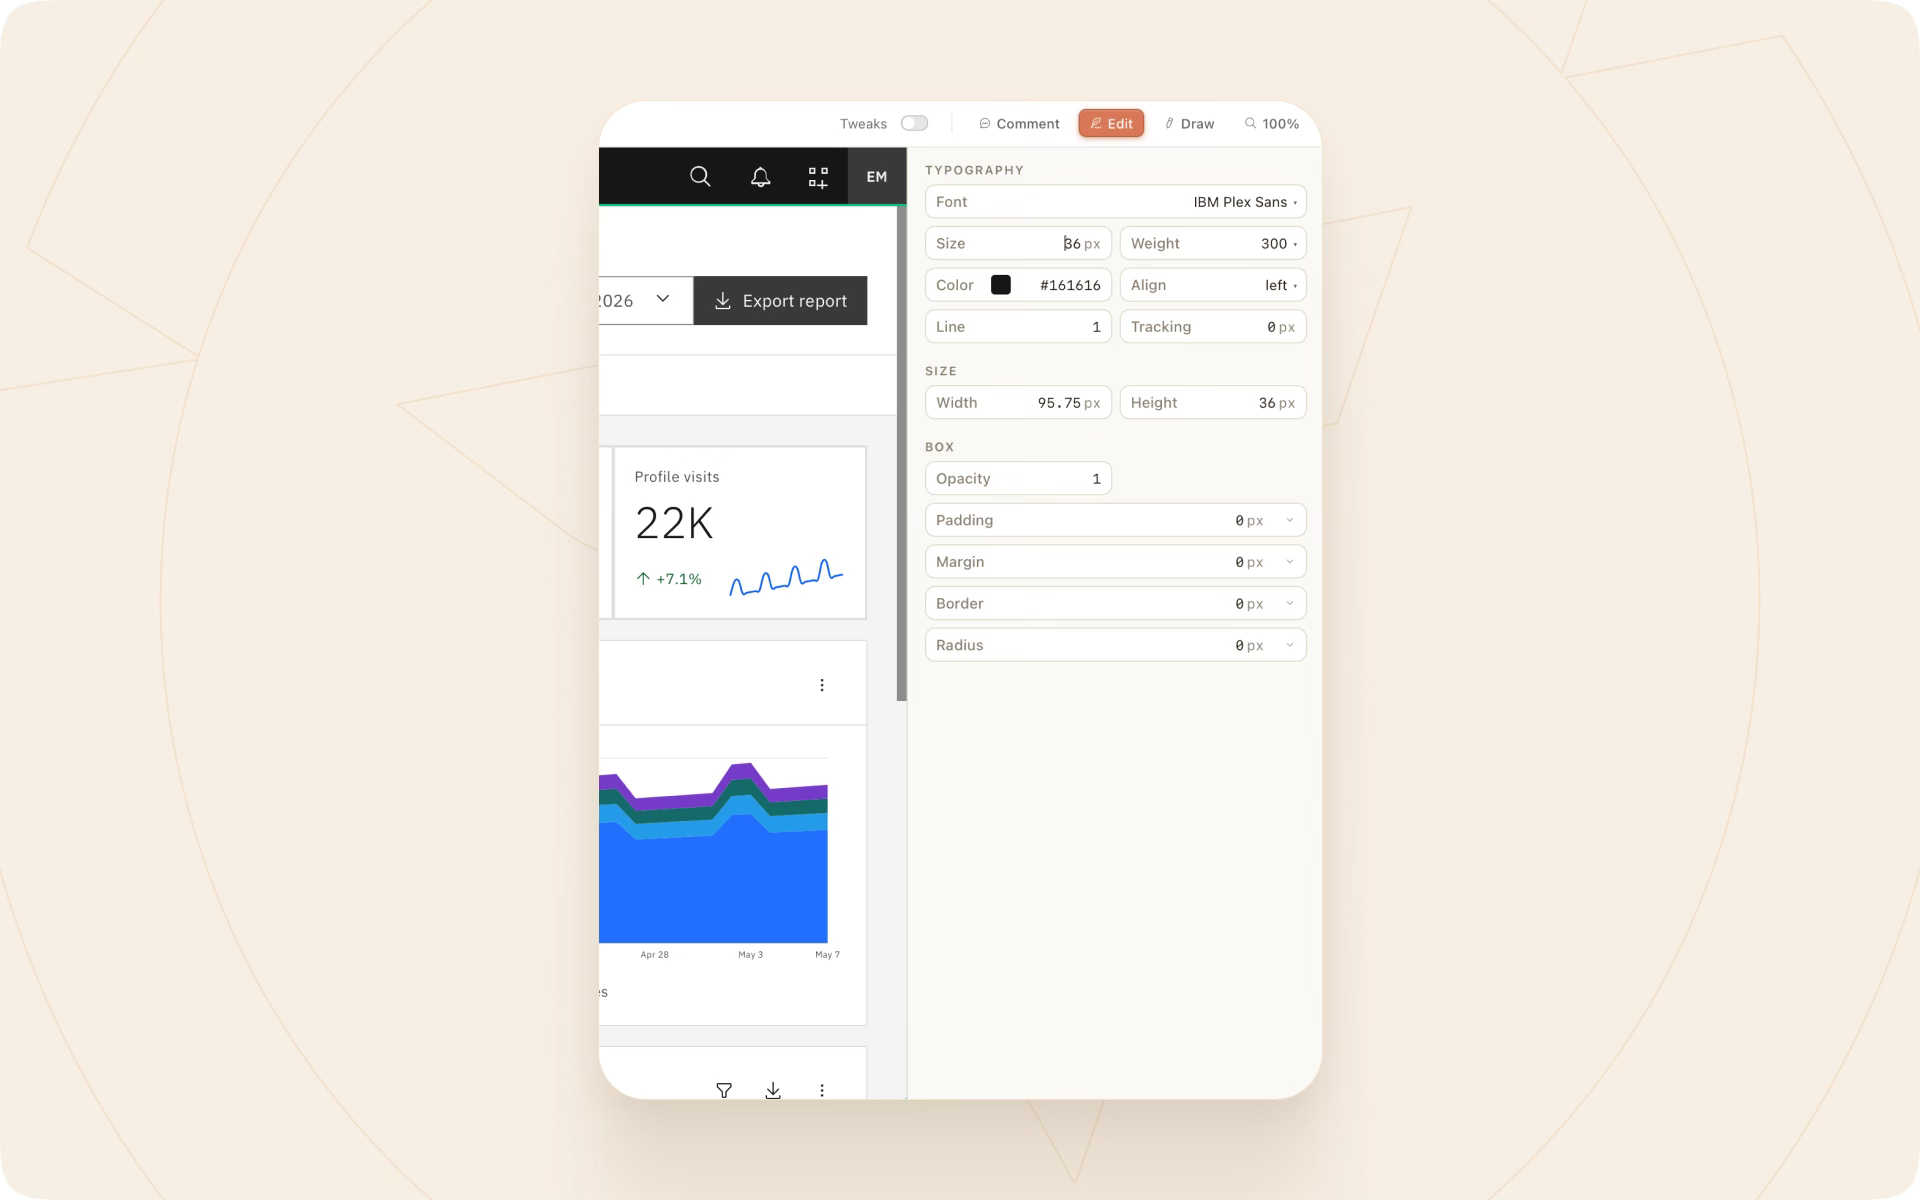
If you need granular modifications, you can do it the “old way.” When you select an element and click the “edit” button, you’ll see the classic panel with parameters to change. What disappointed me is that even if you have a Figma and coded design system analyzed by Claude Design, the edit view doesn’t show any tokens; you can enter any value inside. I’d love to see that fixed soon.
Claude Design — will it be a new standard soon?
Claude Design shows its power when you start by setting up a design system. Otherwise, the style it generates may be just a bit better than typical AI slop creations. The current release is the first attempt to shake up the design tools market.
It still lacks many features used daily by many creative pros (and it tries to compensate by asking you to upload a Figma file).
The key question is: will designers adopt new ways of working, or will Anthropic make their tool more like Figma or Sketch? I think these solutions will get closer, because explorations without a canvas, an open space to store and share ideas, still feel odd to me. Design systems are important, but you need an area to create them; Claude Design allows import and adjustments.
What’s great about Claude Design is that it spreads new patterns that make designing with AI much more efficient — namely Tweaks and comments pointing to specific elements.
It’s also great for creating prototypes with simple logic. Testing them with users is much more convenient than with old-fashioned Figma prototypes.
Finally, the handoff to Claude Code. I plan to test this feature soon, but it feels like showing exact flows and a prototype (already iterated on and tested) is a great starting point for building the real product.
So in short, I see the value of Claude Design in lowering the entry bar for non-technical people who would like to show how something works, test ideas, and then pass them for development without extensive handoff documentation.
There are still many things and features ahead to include in Claude Design to make it a fully professional tool that would make most designers leave classic tools. But it’s great to see fresh air in the industry.
I’m pretty sure that folks at Figma and other design tools are working intensively too to figure out the best possible ways to work with agentic design, and this will benefit us creative pros. Wonderful times.
Next steps
If you haven’t had a chance to try Claude Design yet, it’s not available as a desktop app, but you can access it through www.claude.ai/design.
Try your strengths with it. My advice would be to not waste money and tokens on a simple prompt. If you seek inspiration, still take your time to describe the proper context and the things you want to avoid. If you have a design system, upload it and see the magic happen.
When you don’t use or can’t upload your project library, experiment with publicly available ones. I strongly recommend IBM Carbon, since it has both Figma and coded versions that you can start with.
Enjoy!